
Raised beds are another option. A raised bed vegetable garden is made with boards or stones piled into a box form and filled with soil. Plants are grown inside the bed. The problem with raised beds, however, is that they can be expensive to build and maintain. Not only do you have to purchase the materials to build the bed itself, but if your soil is already poor, you’ll also need to purchase high-quality bagged soil and compost to fill the garden beds. The costs can add up quickly.
DON'T FORGET TO KEEP YOUR GARDEN SAFE
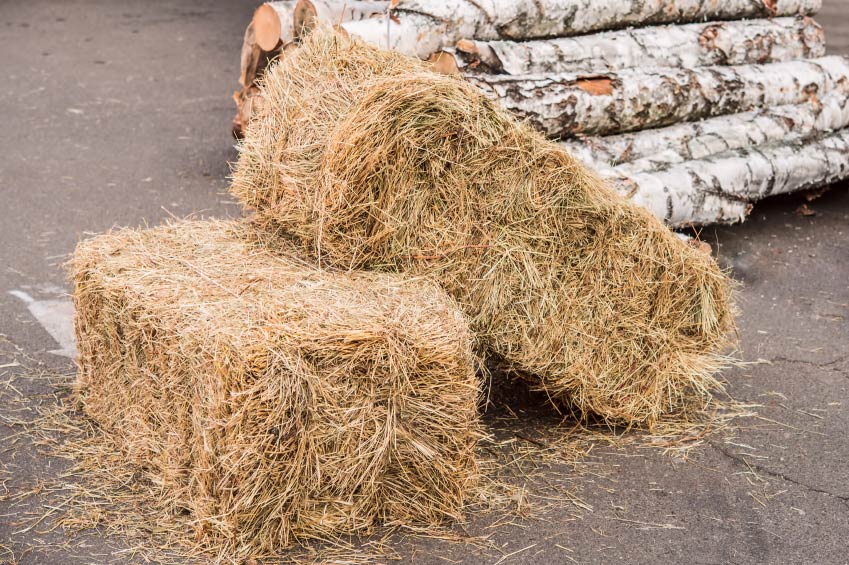
What is straw bale gardening? Straw bales can be used like raised beds in the yard so that no additional soil is needed. There is a difference between straw and hay, so you’ll want to use straw bales, not hay bales, if possible. Hay is grass and straw is stalk — think grains like barley and wheat after the harvest instead of dried grass.
The bales must be conditioned so that they can act as a growing medium, but once that’s accomplished, you’re good to plant. Just make sure that your straw bales are placed in a bright, sunny location and kept well-watered. If you do, you can grow almost anything in straw bales.
Why Use the Straw Bale Gardening Technique?
Straw bale gardening is one of many options for dealing with poor soil. How do you know that you have poor soil? To begin, have your soil tested by your local Cooperative Extension Office. These tests can determine the pH level of your soil, assess the fertility and health of the microorganism colonies living in the soil, and provide you with useful information on which organic amendments to add.
Some gardeners live in areas of the country where the soil consists of heavy clay or sand that’s difficult to amend. While it can still be amended, it may take quite a bit of work to create loamy soil — the best kind for growing vegetables.
Raised beds are another option. A raised bed vegetable garden is made with boards or stones piled into a box form and filled with soil. Plants are grown inside the bed. The problem with raised beds, however, is that they can be expensive to build and maintain. Not only do you have to purchase the materials to build the bed itself, but if your soil is already poor, you’ll also need to purchase high-quality bagged soil and compost to fill the garden beds. The costs can add up quickly.
Straw bale gardening, also sometimes called hay bale gardening despite the difference in material, uses the bales themselves as both garden bed and growing medium. The result is an inexpensive method of growing organic vegetables.
Where Can I Buy Straw Bales?
Not all bales are made equal. Straw bales should be used for your vegetable garden because straw, unlike hay, does not contain seeds. Hay bales are usually grown and sold as horse or livestock feed. As a result, these bales usually contain timothy and alfalfa seeds, which can sprout into plants when wet. If you use hay bales, chances are good you’ll end up growing hay rather than vegetables.
Straw is weed-free and formed into square bales just like hay. Straw is actually a by-product of the grain industry. Grain is removed from the stalk, and the stalks are then bundled into straw bales. That’s why straw makes such a good garden bed — it’s 100% natural and composts over time, which feeds your plants. It’s also missing the seeds, since the processing methods extract them from the plants.
One thing to look out for is making sure you buy organic straw bales since many farms use pesticides on their crops. If you buy your straw bale from a “big box” store, make sure the bale comes from an organic farm and isn’t sprayed with any chemicals. The best way to get your straw bales is if you know a local organic farmer. Confirm with from the seller that the bale is straw and not hay as they are very similar.
You can start a straw bale garden in the early fall, but spring is the best time to plant vegetables. Check with your local Cooperative Extension for the “frost free” date for your growing zone. This frost free date is the last average date of frost in your part of the country. Most vegetables should be planted AFTER this date. It’s a good idea to build your straw bale garden around that date, so that you’re right on schedule to plant your vegetable garden.
Choose a Location
To build a straw bale garden, you will need space in your yard that receives bright, full sun. Full sun is defined as six or more hours a day of bright, direct sunlight. Although some vegetables, such as lettuce and green beans, can grow in partial shade, most vegetables need full sunlight in order to thrive.
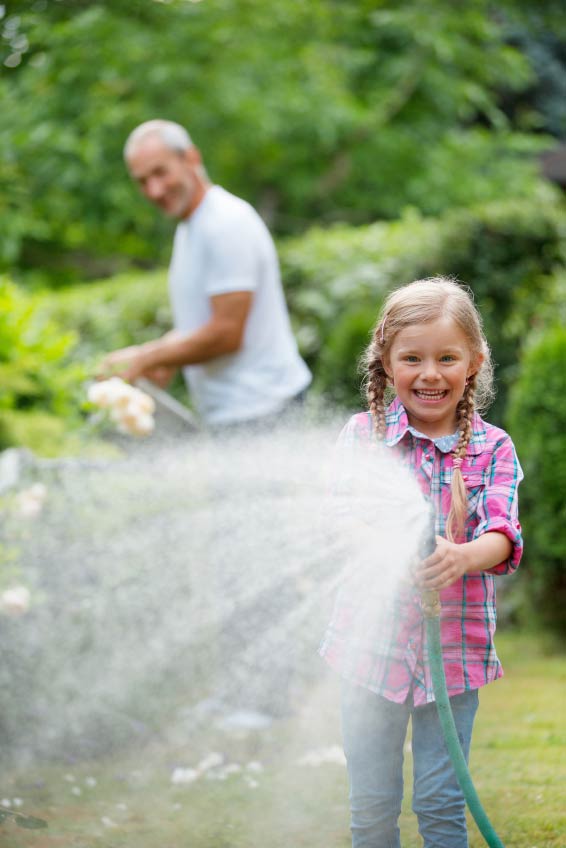
Another consideration when scouting your yard for the best spot is access to water. Once your bales are in place, they’re too heavy to move. This weight presents a challenge, since you’ll need to water your garden regularly. Placing bales near a water source or within reach of your garden hose makes it easier to tend to them.
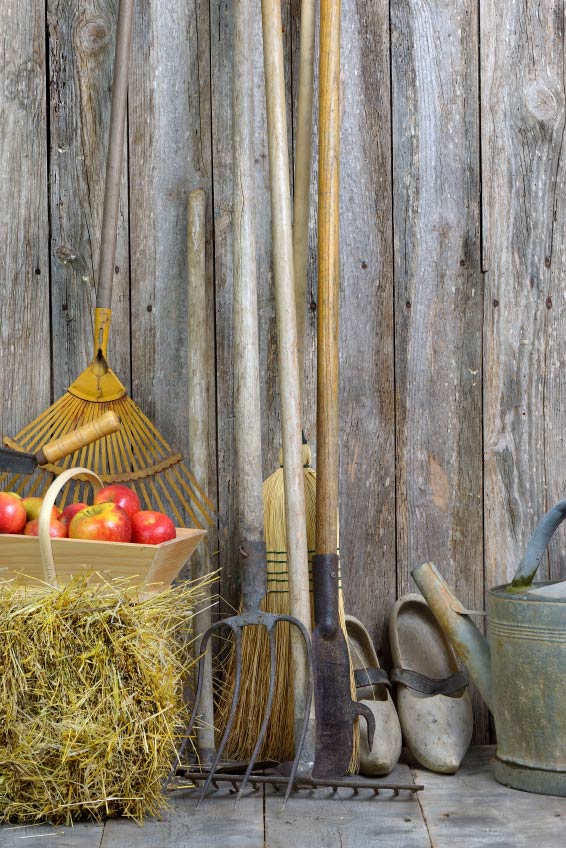
Equipment and Supplies for Straw Bale Gardening

In addition to purchasing bales of straw, you’ll need some simple equipment to get your straw bale garden started. For an average straw bale garden, you will need:
- Sheets of newspaper or cardboard to place under the bales
- A hand trowel
- A garden hose
- Organic fertilizer — especially bone meal or blood meal
- Straw bales
- Soil or compost if you need to direct-sow seeds
Straw Bale Gardening Instructions
Place a sheet or two of newspaper or cardboard on the ground where you want your garden. The paper should extend several inches beyond the edge of each bale. Then, place a bale on top of the paper. The paper prevents weeds from growing up and into the bale.
Make sure you arrange the bales the way you want them. Leave space between them so that you can push a lawnmower or wheelbarrow among the bales. Once they’re in place, they get heavy when water-logged, and are difficult or impossible to move.
Conditioning the Straw Bales
In order to make the straw bales a good habitat for garden vegetables, you’ll need to condition each bale, which turns it into a growing medium. This is the most time-intensive part of the project, but don’t worry! Nature does most of the work.
- Days 1 to 3: Once your straw bales are in place, take the garden hose and water each bale thoroughly. Soak it with water. You need to do this once a day for three days to start the conditioning process. The bales begin to decompose. As the microorganisms start to work, the inside of the bale heats up.
- Days 4 to 6: On days 4, 5 and 6, you will need to sprinkle the top of the bale with fertilizer. Sprinkle each bale with one cup of ammonium sulfate (21-0-0) OR half a cup of urea (46-0-0). The numbers after the name of the material refer to the amount of nitrogen, phosphorous and potash in the fertilizer — an industry-standard measurement. These are high nitrogen sources, and they also speed up decomposition and conditioning. After sprinkling the fertilizer onto the top of each bale, water it thoroughly into the straw. You will tackle this process each day on days 4, 5 and 6.
- Days 7 to 9: On days 7, 8 and 9, continue using the fertilizer, but cut the amounts in half. Continue to water it into the straw bale.
- Day 10: On day 10 of the process, stop adding fertilizer, but continue watering the bale to keep it moist.
Check the bale on day 11. If it feels about the same temperature as your hand, you can plant your vegetables. If it feels hot to the touch, water the bale another day and check it again on Day 12. The bale should feel warm, but not super hot to the touch.
Planting Vegetables in Straw Bales
Once your bale is properly conditioned, it’s time for the fun part: planting vegetables!
Each bale can be planted with the following number of vegetable plants:
- Tomatoes: 2 to 3 plants per bale
- Peppers: 4 plants per bale
- Squash: 2 to 4 plants per bale
- Zucchini: 2 to 3 plants per bale
- Cucumbers: 4 to 6 plants per bale
- Strawberries: 3 to 4 plants per bale
You can also grow lettuce and green beans in straw bales, but the number of plants depends on the varieties. Check the seed package. Both lettuce and beans grow easily and quickly by direct sowing methods (planting seeds directly).
Use your trowel to dig into the top of the straw bale. Make a hole about the size of the container your vegetable plant came in. Gently slide the plant out of the container. If it sticks, tap the sides and back of the container to loosen the plant. Don’t tug it by the stem — you can easily break the stem and hurt the plant.
Place the plant, root-side down, into the hole and gently push the straw back into place around the soil and onto the roots. Water it well. Congratulations! You’re growing your very own straw bale garden.

What Not to Plant
Not every vegetable appreciates a straw bale garden. Some do not fare well when grown in straw bales.
- Corn tends to grow too tall and top-heavy for a straw bale garden.
- Potatoes, sweet potatoes, carrots, turnips, and other root crops also don’t grow well in straw bales.
For the average home gardener, a few tomatoes and peppers are enough of a reward. They’re also a lot more flavorful when grown in your very own organic garden than purchased from a store.
Special Considerations: Tomatoes and Vine Crops
Two crops may need additional support: tomatoes and other vine crops such as cucumbers, squash, and zucchini. Tomatoes should be staked so they grow upwards and have plenty of air circulation around the leaves. Tomato cages do not work with straw bale gardens. You will need to drive stakes into the ground. Use a hammer and set the wooden stakes into the ground. After that, you can cut old bedsheets into strips and use them to tie the tomato plant to the stake. Don’t use metal stakes, though, as they can heat up in the sun and scald your tomatoes. Fabric ties are better than twist ties because they’re gentler on the tomato stems.
If you’re growing cucumbers or beans, choose “bush” varieties instead of “pole” or vine varieties. Bush cucumbers and beans grow in a low, shrub-like plant and don’t require staking. If you have seeds for pole beans, you can still grow them in a straw bale, but you will need to stake them just as you would a tomato plant.
Cucumbers, squash, and zucchini can spread down, out, and away from the straw bales, but may be a nuisance if you have to cut the grass between the bales. You may wish to offer them a stake or another support so they grow upwards instead of down and onto the grass.
Straw Bale Gardening Tips
Straw bale gardens can dry out easily, so keep them well-watered. The straw should hold up through one full growing season. Straw bales are held together by two to three strands of rope or metal baling twine, which holds the bale in its familiar shape. Make sure you water your garden every day, except on days when it rains.
Because straw contains no nutrients on its own, you will need to feed your plants frequently. Straw bale gardens should be fertilized every two weeks while plants are young, and every week once they start bearing fruit.
“If using an organic source of nitrogen it is key to know the actual nitrogen content by percentage,” advises Joel Karsten, the author of Straw Bale Gardens. “From my experience the conditioning process requires approximately 1/2-3/4 cup or 4-6 ounces of ACTUAL nitrogen in order to feed the bacteria enough energy to colonize the entire bale. If using a source with 5% nitrogen, this would require using 10 to 15 cups or 80-120 ounces of the source material to get enough ACTUAL nitrogen. Working this volume of material into the bale can be difficult, but is possible. Organic sources with low levels of nitrogen (<5%) make working enough volume into the bales very difficult or impractical. This will slow down or stop the conditioning process and crops planted into these bales will turn yellow and whither after germination from seed or transplanting. The garden will never look good and will not perform well in this circumstance.”
Straw Bale Garden Problems
Most straw bale gardens have few problems, which is why they’re becoming so popular. The most frequently reported problem is dry bales. Again, water is the answer. Keep watering — especially during the heat of the summer months.
Another problem with straw bale gardens is mushrooms. Mushrooms are a sign that your straw bale garden is working as it should be — in other words, that it’s decomposing slowly. If the mushrooms bother you, you can pick them off and throw them out. Never eat mushrooms growing on a straw bale. Some mushrooms are poisonous, and unless you’re an expert at identifying edible mushrooms, don’t eat them.
Try Straw Bale Gardening Today!
Straw bale gardening offers gardeners a great opportunity to try their hand at organic gardening practices without spending a great deal of time or money on soil conditioners. You can scale your garden up or down each year, depending on how many bales you buy and how much you want to grow. Best of all, once the garden is done for the year, you can spread the used straw on your compost pile so that all those nutrients can return to the soil to be used again.


