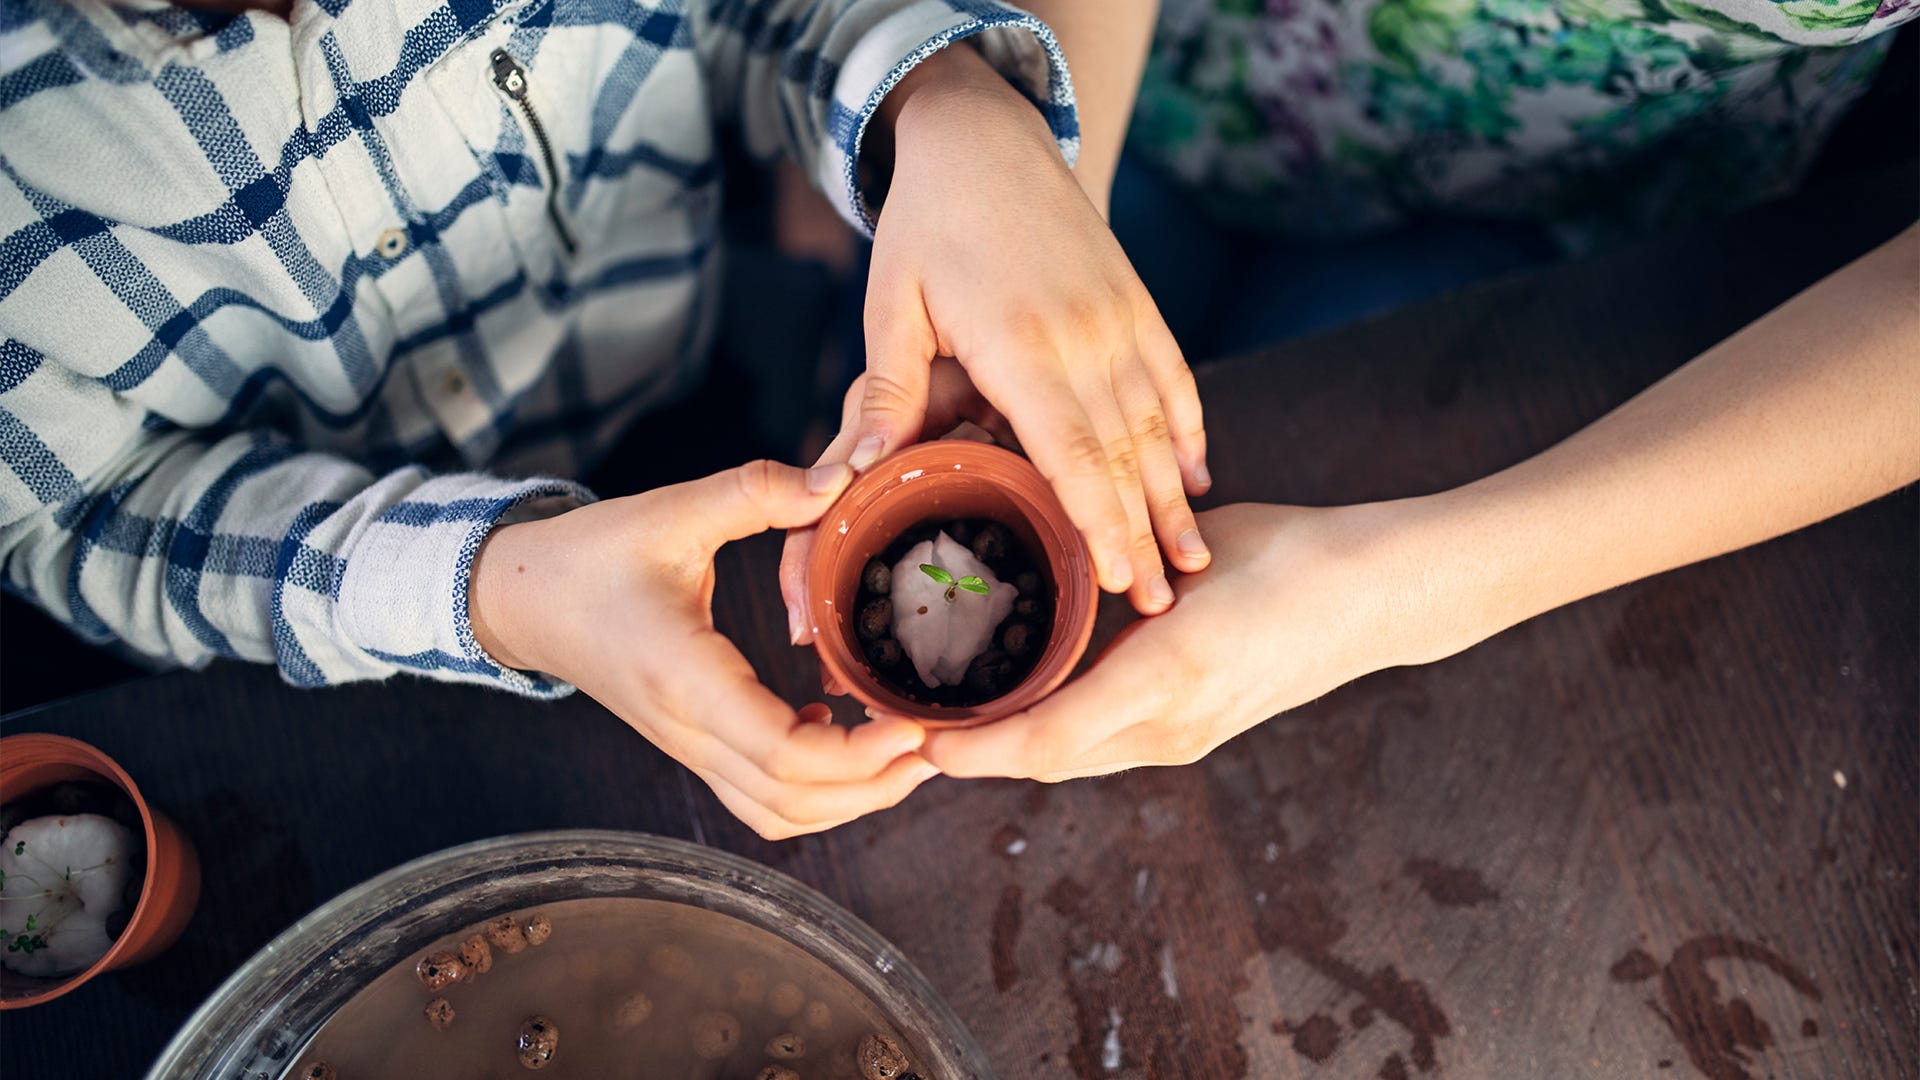
Starting seeds is not difficult -- in nature, seeds sprout on their own with no human help necessary. But this guide will help ensure that you maximize the germination rate of your seeds and that your seedlings start off as vigorously as possible, putting your indoor garden on the road to success.
Soak to test. Many seeds remain viable for years, but as they age, they lose water in their cells and the plant embryo inside the seed gradually shrivels. You can give older seeds a jump-start and discard any duds before planting by soaking them in a bowl of room-temperature water overnight. Those that float after soaking will not germinate. The seeds that sink to the bottom have absorbed water and are ready to sprout.
Pre-sprout to save space. If you have limited space for planting or just want to be sure each seed you plant germinates, you can pre-sprout them first. Moisten a paper towel and place it on a plate. Spread your seeds out on the paper towel and then top them with another damp (not soggy) paper towel. Cover it with another plate that's turned upside-down, so you have a kind of clamshell with the towels and seeds inside. Keep the plate at room temperature and away from direct light. Check every day that the towels are still damp and mist them as they start to dry out. In a few days, a few millimeters of short, white root will emerge from the seed. Carefully remove the seeds from the towel and plant immediately. Older seeds may take a few more days -- it can be up to 10 before they all germinate -- so be patient. You'll see the little sprouts from the seeds popping up about three days after planting.
Pick your medium. Whether or not you pre-sprout, you have a few choices for where to plant your seeds. Starter cubes are small blocks of rockwool with indentions where you place the seed -- you just gently pinch the top closed to secure the seed. The cubes, which hold moisture yet allow air to reach the roots, are the best choice for hydroponic growers. If you plan to grow in soil, you can use seedling plugs, which are formed from peat and made to fit neatly into plastic trays. When it's time for the plants to move to larger pots, the plugs go right with them, reducing potential transplant shock. You can also plant directly into a tray full of seed-starting mix -- not potting soil, but rather a blend of equal parts peat moss or coir (coconut husk fiber), perlite or vermiculite, and mature compost. You can buy it bagged or mix your own.
Moisten first and frequently. Regardless of the medium you choose, wet but don't soak it before you plant your seeds. To germinate effectively, seeds need constant moisture, but too much water can drown the first shoots and roots before they have a chance to take hold. Be sure the medium stays damp but not soggy as you wait for them to sprout and in the days immediately after they do.
Go knuckle deep. Some types of seeds, such as lettuce, need light to germinate, so you want to set them on the surface of the planting media. Most seeds, however, germinate below the surface. Push them in about as deep as the first knuckle (closest to the fingernail) on your index finger.
Sprinkle moss or meal. Growers using soil can protect their seedlings from damping off, a lethal fungal disease that rots seeds and sprouts, by sprinkling sphagnum moss or corn meal on the surface of the medium. The moss or corn meal acts as a natural fungicide, drawing excess moisture away from the thin new stems and saving your starts from the most common seed-starting problem.
Hold the cover. Seed-starting kits often come with lids or plastic sheets to keep the environment humid. But covering the seeds prevents essential fresh air from reaching them and can raise the humidity to levels that invite fungi to spread. These lids may even hold in so much moisture the seeds rot before they sprout. Don't cover your seeds with plastic!
Heat gently. Most seeds sprout when temperatures are at least 65 degrees Fahrenheit. Raising the temperature to 75 to 80 degrees increases germination rates and speeds up their emergence. You can buy heat mats designed for seed-starting -- they're waterproof -- or you can place your trays or pots where the temps are warmer (but not hot). Heat can dry out the medium, so check it often to be sure it stays consistently damp.
Light when visible. Except for the few types of seeds that need light, your starts will germinate best in the dark. But once they poke their heads up and show their second set of leaves (the first pair after the little round embryonic leaves known as "cotyledon"), you can move them beneath your grow lights.
Feed when ready. Seeds contain all the nutrients they need to germinate and unfurl their first two sets of leaves. After that, your seedlings will depend on you to keep them well-nourished. After the two pairs of leaves are visible, begin feeding the plants with a very dilute solution of nutrients that are formulated for seedlings. At that stage, they need a healthy supply of nitrogen to encourage leafy growth and potassium for sturdy root development. As the seedlings grow and mature, gradually increase the concentration of nutrients in your fertilizer solution.
Your Seed Starting Efforts
Do have your own ideas for starting seeds? Let us know about it the next time you visit Safer® Brand on Facebook. We’d love to hear your ideas!


