Beginning your first hydroponic garden should be exciting and fun. While the options are seemingly endless when it comes to growing mediums, lights, and equipment, it can be confusing when you don't know where to start. Don't worry; we've got you covered. Below are the five simple steps to help you get underway with your first grow. Each step is broken down so you can feel confident when you begin your first hydroponic gardening adventures!
1. Start With Seeds or Clones.
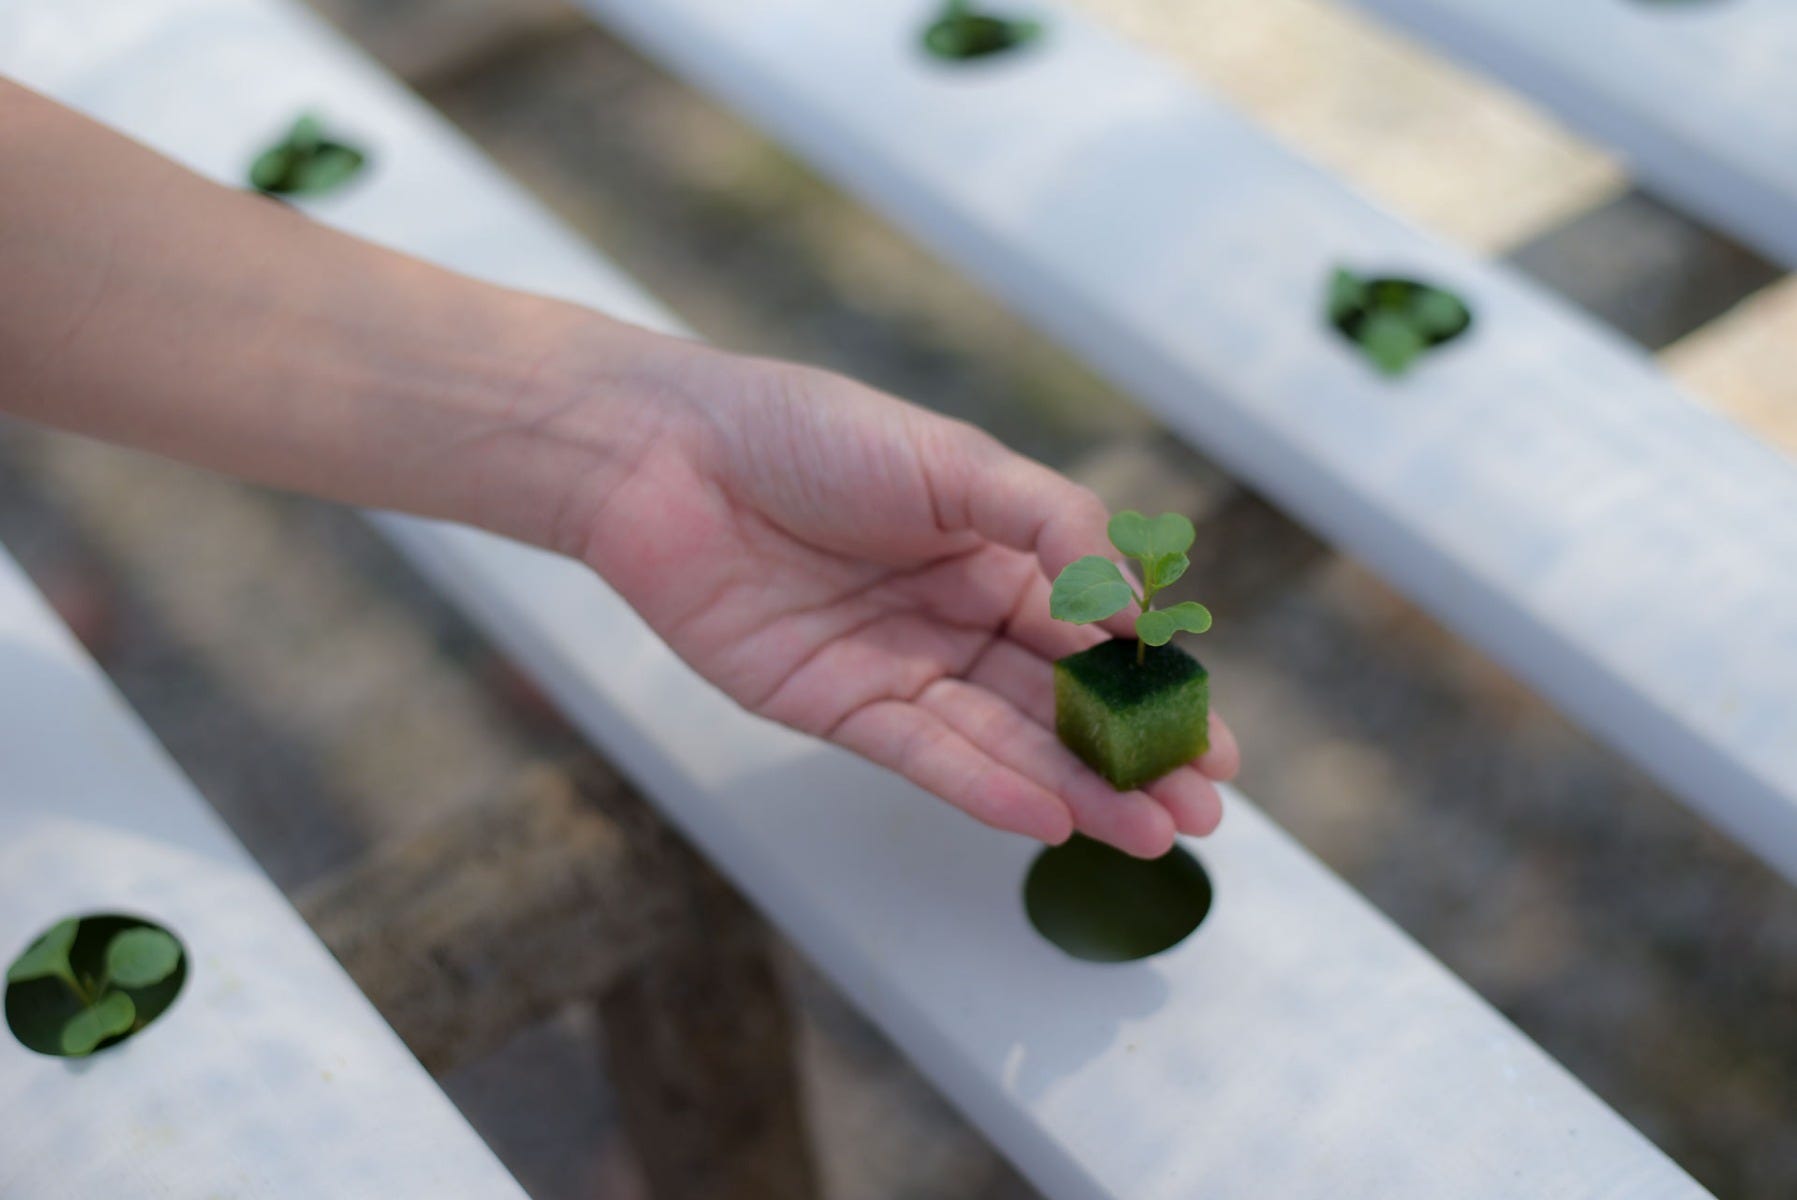
You have two choices when you start an indoor crop. The first is to plant seeds you buy, collect yourself, or get from other growers. Soak the seeds in room temperature water for a few hours (or overnight) before planting them—throw out any seeds that float because they will not germinate. Plant the viable seeds in a tray with coconut coir or rock-wool cubes that are damp (but not soggy) and keep the trays covered with plastic.
Check daily to be sure that the seeds stay moist, and in two to five days, they should sprout. Remove the plastic and position the tray so the lights are 2 to 4 inches above the tops of the seedlings. Keep the little seedlings damp until they have two sets of leaves (another week or two). Begin feeding them every other day with a very dilute organic liquid fertilizer formulated for seedlings and clones.
Another simple way to begin is with a cutting from an existing plant. Large, mature plants are the best source for cuttings. Choose a healthy stem that’s at least 6 inches long and use a sharp utility knife to slice it off at a 45-degree angle to the main stem. Cut it down to about 4 inches long—again at a 45-degree angle—and trim off all but the top leaves.
Dip the cut end of the stem into a rooting hormone and set it in a moistened rock-wool cube. Be sure the cut end is in contact with the cube. Put the cube in a plastic tray, mist it, and cover the tray with a clear lid. Set the cutting 2 inches below fluorescent lights and leave the lights on for 18 hours a day. Mist daily so the cutting never dries out. In 10 days, it will have begun growing roots.
When your seedlings—started either from seeds or cuttings—have a little root ball, they’re ready to be transplanted to pots in either soil or a hydroponic system.
2. Choose a Simple Setup.
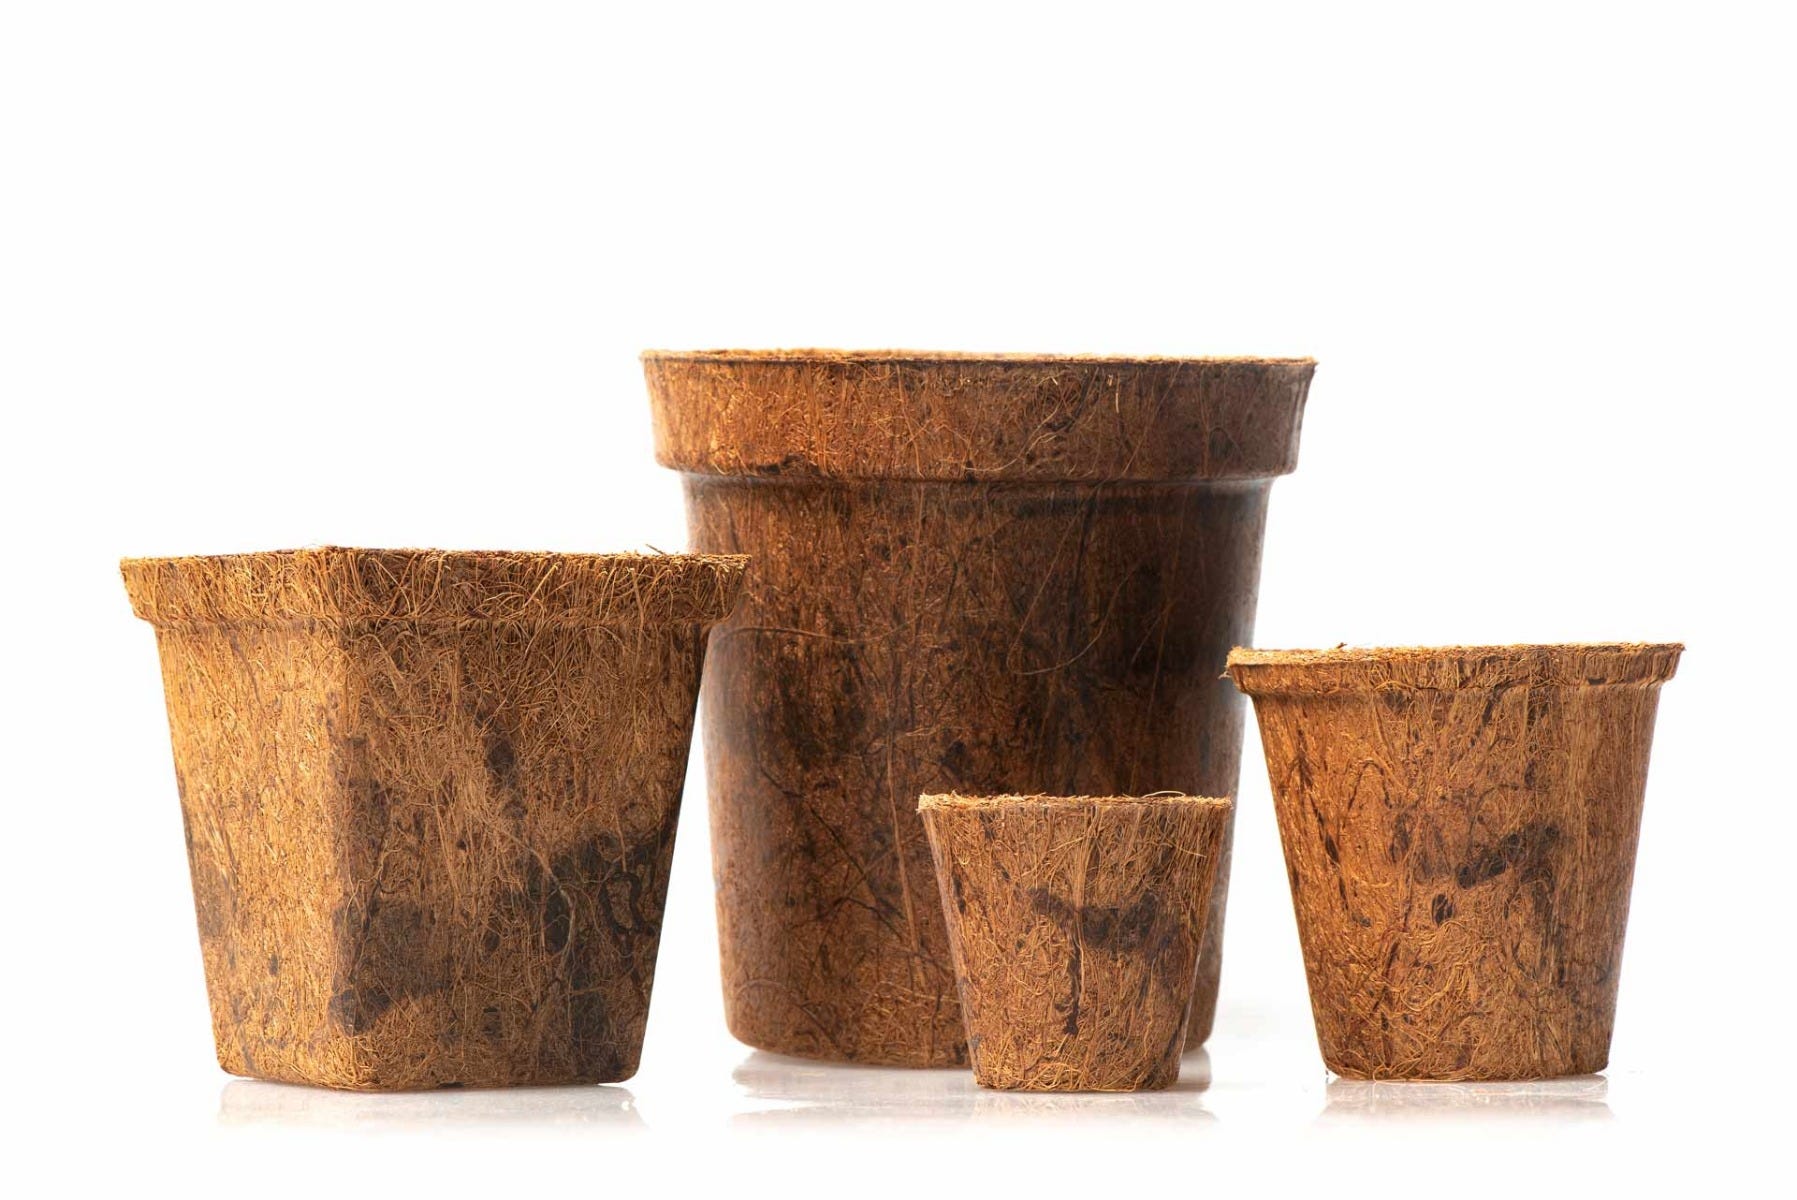
You have many choices for how to grow your crop indoors. Pots with a light soil mix (coir with vermiculite or perlite) are inexpensive, need minimal attention, and are less prone to problems than hydroponic systems, in which the plants’ roots are exposed and grow in a solution of water and fertilizer.
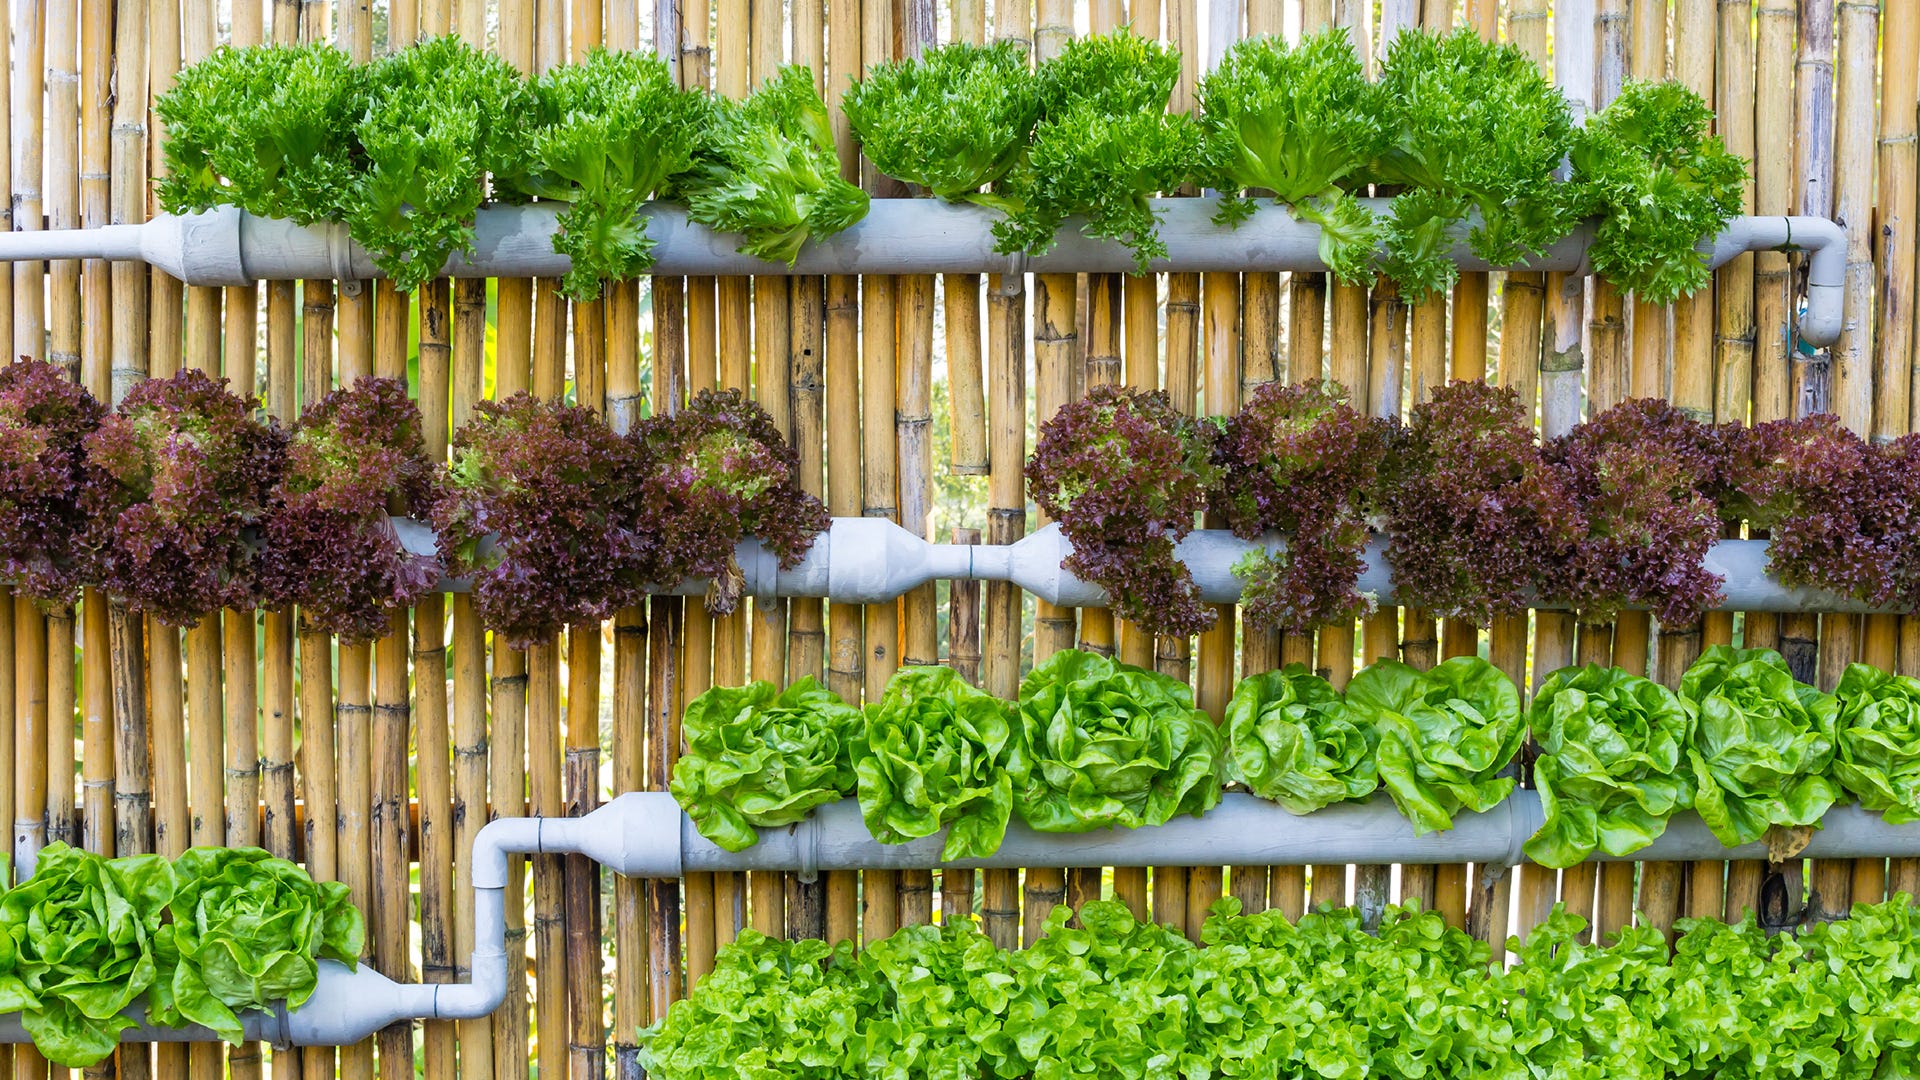
The various types of complete hydroponic systems, such as continuous flow and flood-and-drain, cost more and are a bit more complex to set up and maintain, but they are popular because plants grow quickly and produce abundantly in them. If you are growing for the first time, plant your crop in pots with a soil mix and then decide if you want to make the bigger commitment to a soil-free system.
3. Let There Be Lights.
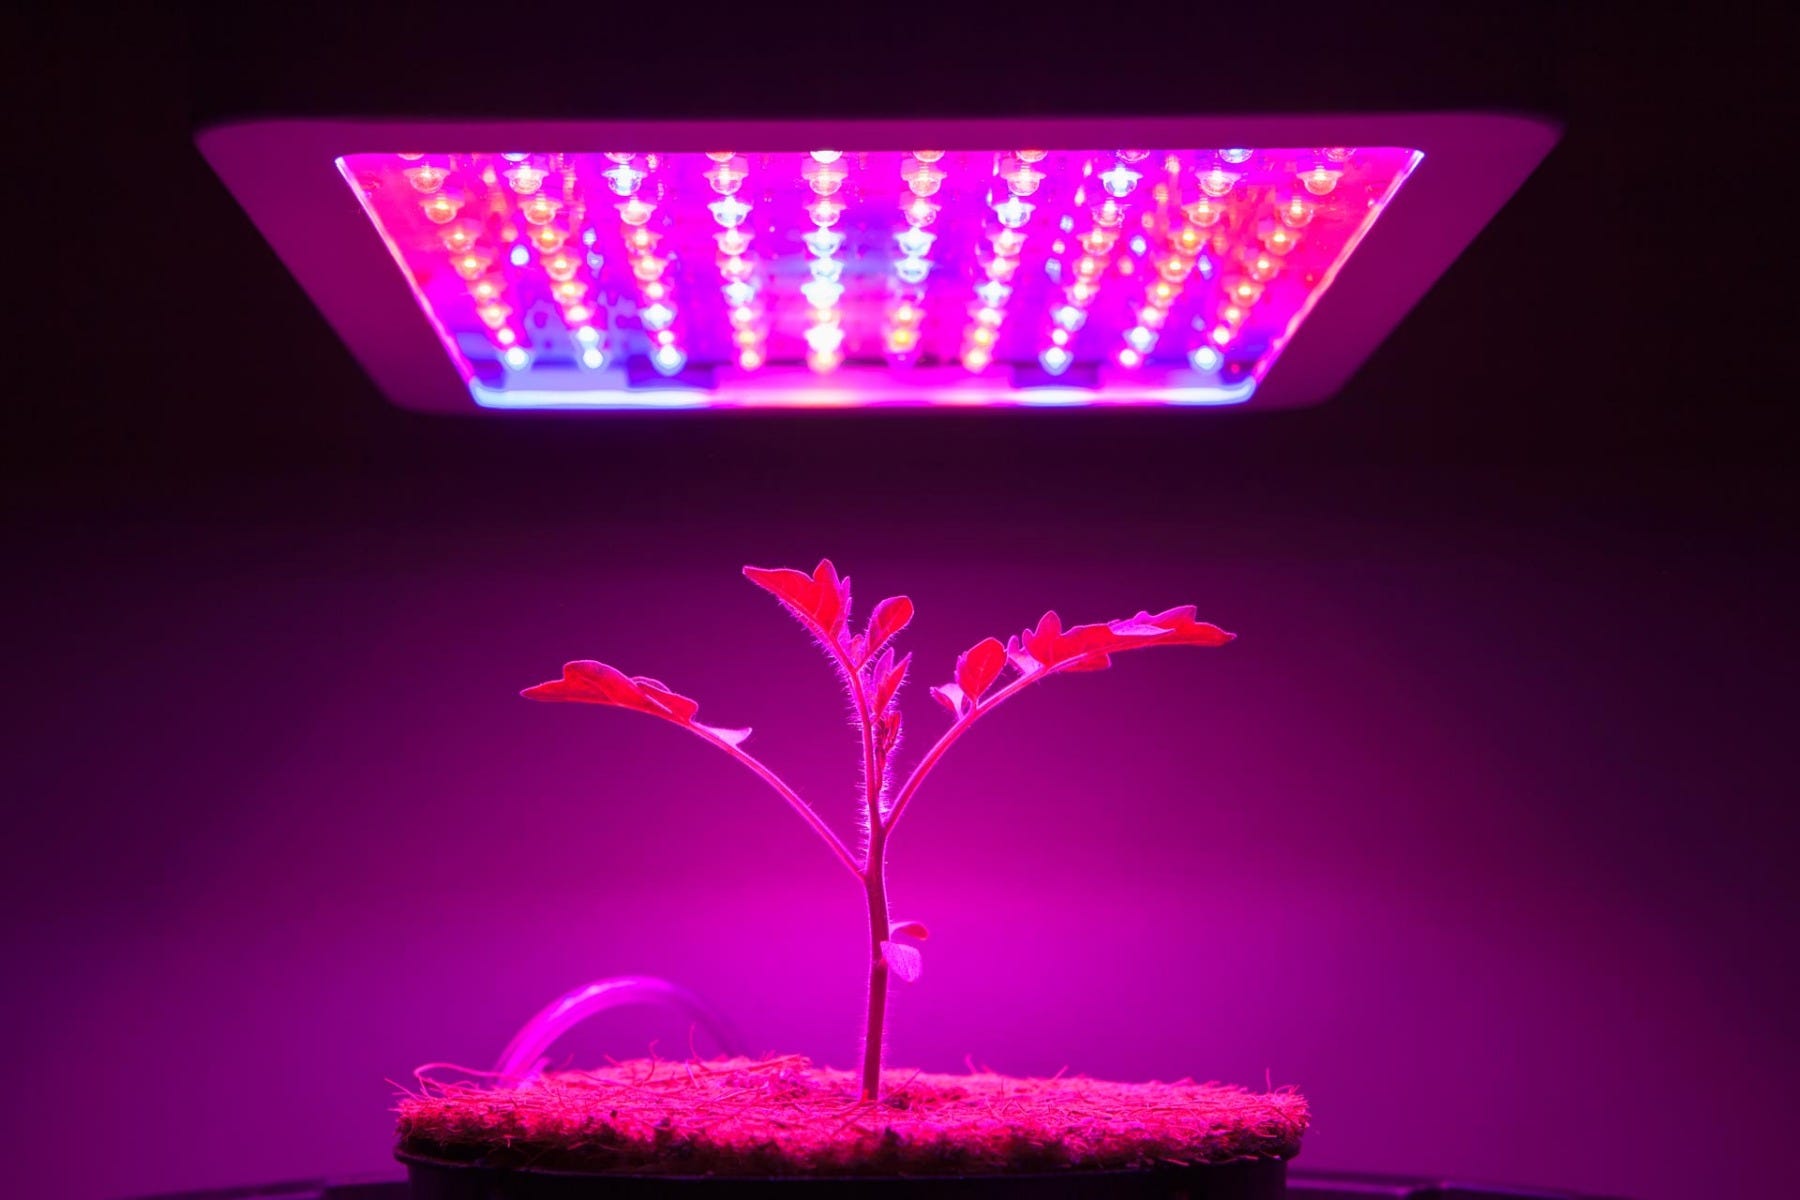
You can grow herbs and houseplants on windowsills, but to grow bigger, leafier plants and even flower buds, you’ll need lights for your indoor garden. The most effective are expensive full-spectrum grow lights (metal halide and high-pressure sodium), which require electrical work to install. LED lights are costly to buy, but they use less power, and you can just plug them in. Compact fluorescent lights produce less light than the others, but it is still enough to grow a few plants through to flowering—and they’re the cheapest to operate.
For less than $40 at home improvement stores, you can pick up the fixtures and bulbs you need to grow a dozen plants. Keep the lights no more than 3 to 4 inches away from the leaves of your plants as they grow—don’t worry, fluorescents don’t get hot enough to burn plants at that distance. Plants need darkness, too, so plug your lights into a simple timer so that they go on and off at the same times each day. Avoid opening the door or otherwise allowing light into your indoor garden during the dark period.
4. Raise Leafy Plants.
Give the seedlings you planted 18 hours of light daily and keep their roots damp, but not soggy. Soon, they will be growing taller and branching out. Feed them a liquid organic fertilizer blended for the vegetative stage of growth. Be sure to carefully follow the dilution directions and feeding schedules. Feeding your plants excess nutrients doesn’t make plants grow bigger or faster and, in fact, can damage your crop.
If your crops get so tall that they threaten to outgrow your space, you can contain their height by clipping off the top leaves anytime after the plant is about 3 feet tall. Set up a small fan to blow a gentle but steady breeze around your plants. It circulates air, bringing vital carbon dioxide to your plants and reducing the risk of fungus, a common problem of indoor gardens. The fan also helps your plants’ stems grow sturdier.
5. Switch on the Flowers.
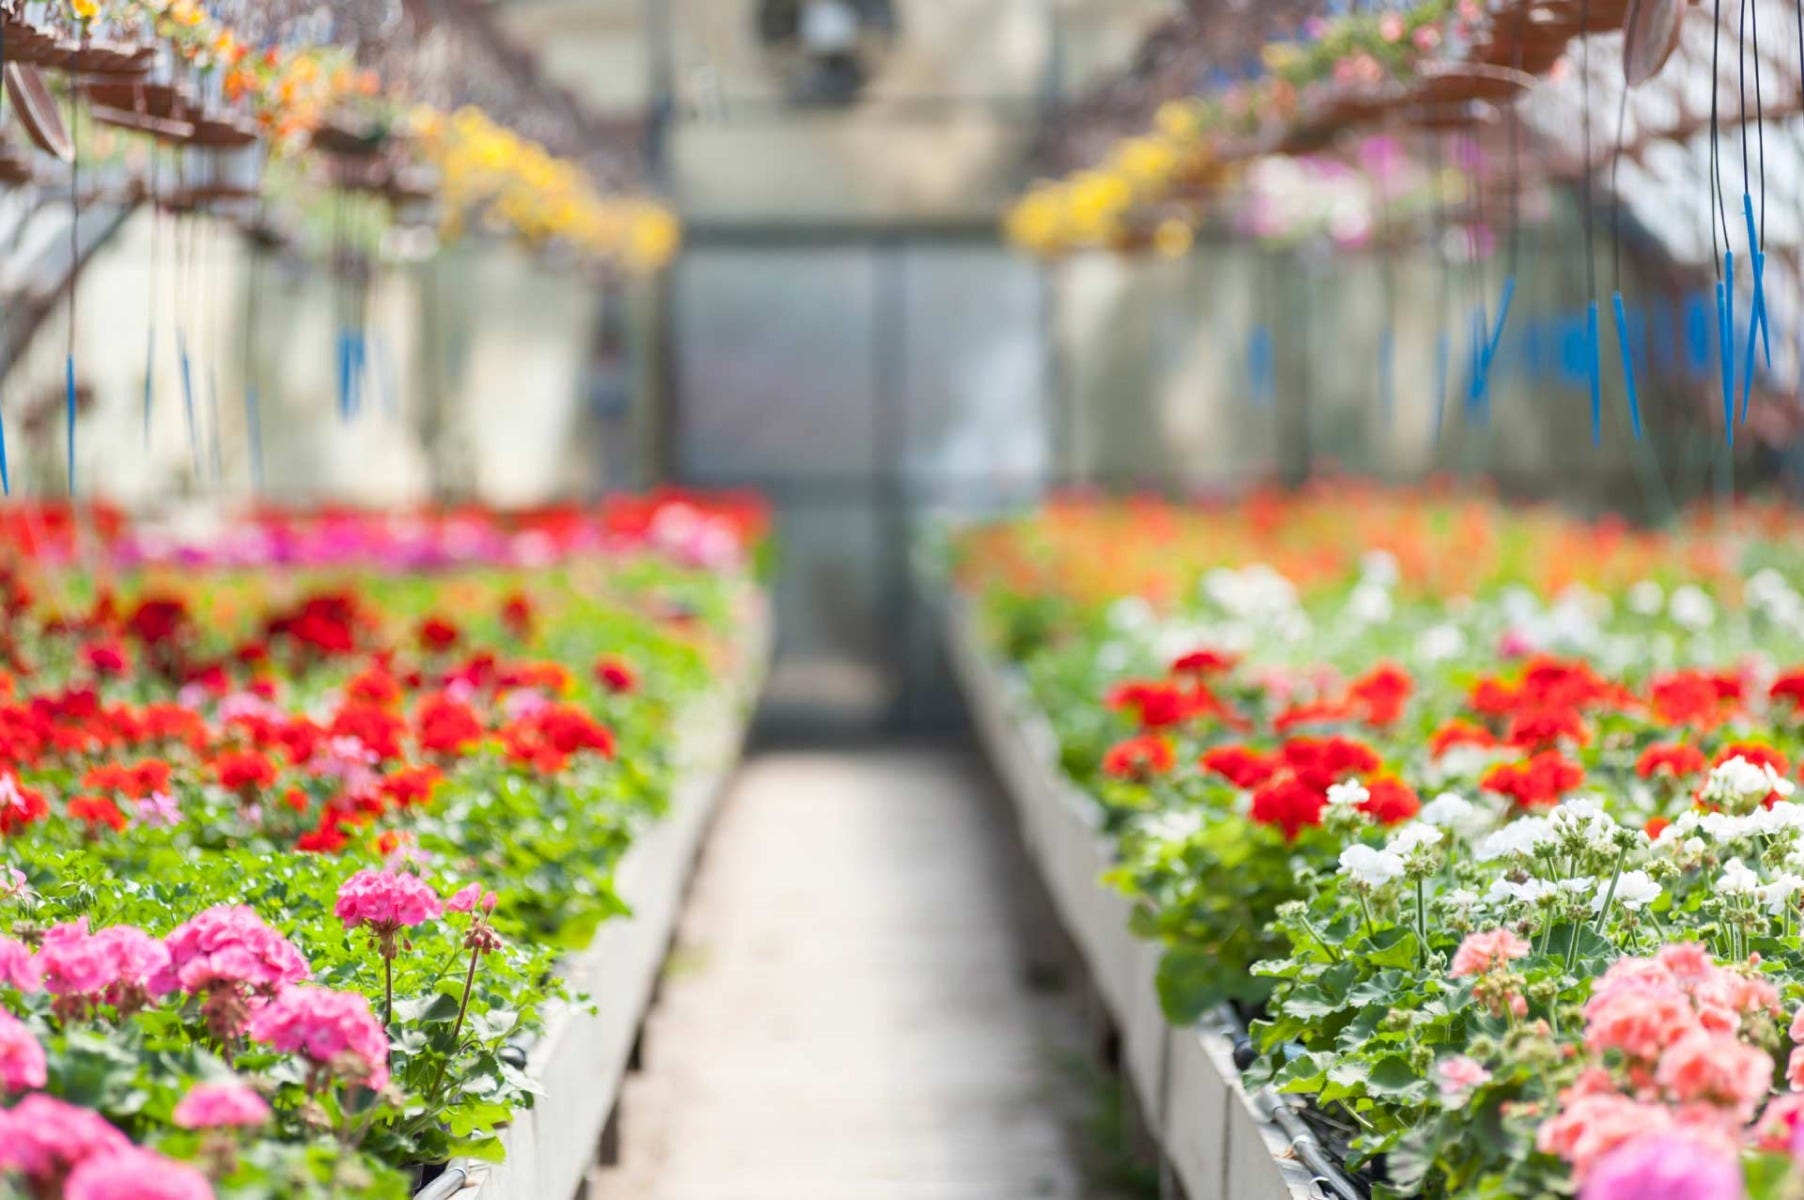 When your plants reach maturity—typically 8 to 10 weeks after you start feeding them—they are ready to bloom. Natural changes in the amount of daylight hours trigger plants to flower outdoors. You can simulate the same changes in your indoor garden by setting the timer to turn the lights on and off every 12 hours.
At the same time, begin feeding your plants with a liquid organic fertilizer blended for the flowering stage, which has a different balance of the nutrients that plants need than when they are getting started or growing leaves. Flower buds show up in a few days to a week and continue to form for two or more weeks. If you plan to harvest unpollinated flower buds, stop feeding them about a week before you pick them and give them only water.
Hydroponic and General Feeding Information
Our goal is to provide you with products and knowledge to make growing fun, easy, and ultimately successful. The feeding charts and information on this page will guide you through proper nutrient applications for each critical stage of plant growth from seedling to vegetative to bloom and harvest.
For Best Results:
- Use conductivity or PPM meter to monitor water quality and control nutrient strength.
- Drain, discard and replace nutrients every week to prevent nutrient imbalance.
- Maintain nutrient pH between 5.5-6.5. Adjustment may be necessary since water quality and pH vary both regionally and seasonally.
- Reduce nutrient strength if plants show signs of stress.
Feel More Prepared?
We want to see your first hydroponic gardens! Your hard work is something to be proud of and share for everyone to see. Visit our Facebook page to share your hydroponic gardening set ups and tell us which tips helped you the most. For more articles, tips, and advice on getting the most from your garden, whether it be hydroponic, indoors or outdoors, visit our learning center. If that's just not enough Safer Brand for you, don't worry! You can easily stay up to date on the latest gardening techniques and advice by signing up for our e-newsletter This will ensure you will be among the first to know about new products, articles, and offers!

