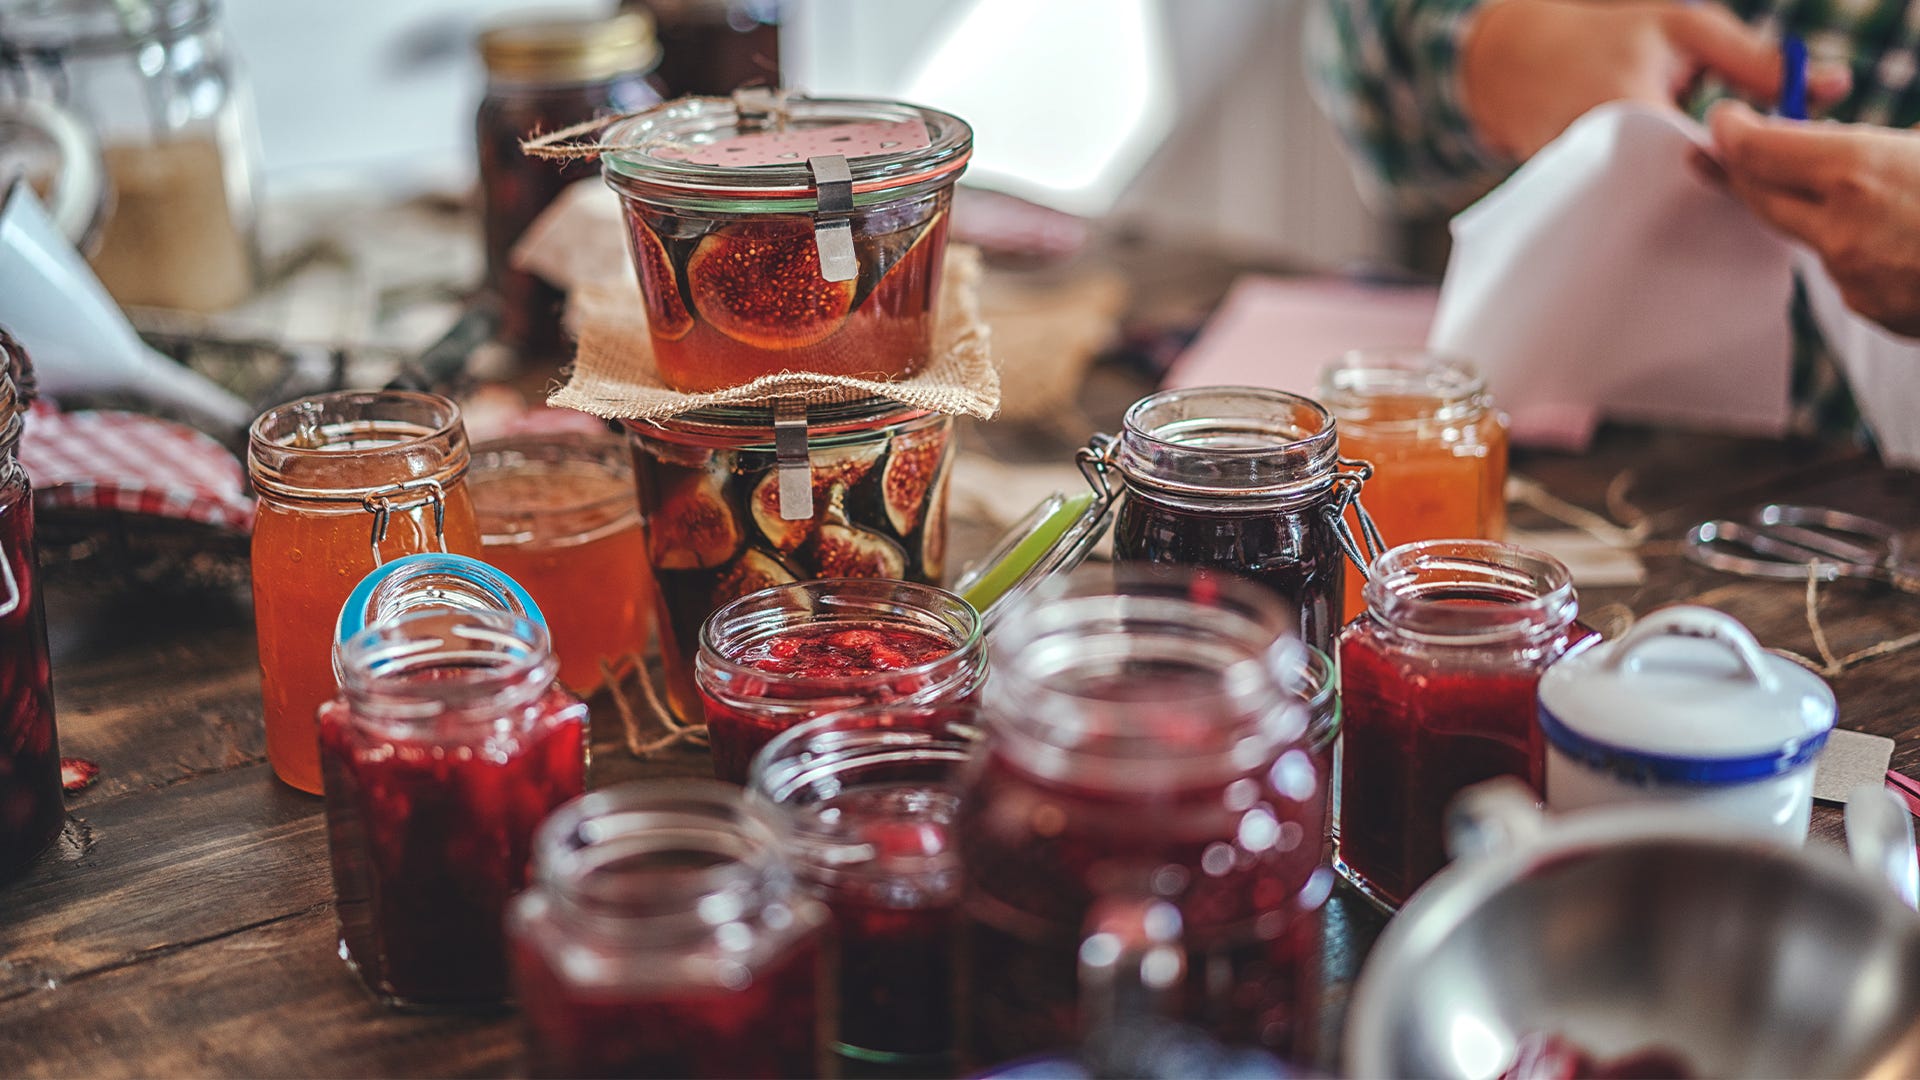
One of the great things about growing an organic garden is that you can enjoy what it produces long after the summer or fall harvest. By canning your surplus, you’ll have enough delicious and healthy organic fruits and vegetables on hand to get you through those cold winter months, which will also help you significantly lower your annual food costs. Use the following guide to help you make the most of your canning and preserving efforts.

- Use the Proper Equipment – There’s no shortage of canning supplies on the market these days, but you can get the job done with basic, inexpensive equipment. Of course, you’ll need canning jars and the specially designed tight-sealing lids. You’ll also need a pot that can hold enough water to accommodate the size of the jars you’ll be using, while also providing enough room to allow for boiling.
Jar lifters, which are tong-like devices for placing and removing jars from the pot, can make the process easier and safer. Lid wands will help you remove the jar lids and sealing rings from boiling water. A ladle and wide-mouth funnel can make filling the jars easier and much less messy. A Sharpie pen and adhesive labels will also be helpful for identifying the contents of the jars, as well as the actual date of canning. - Find the Best Time to Can – The best time to can your fruits and vegetables is right after you harvest them, as this is when the vitamin and nutrient content is at its highest. To ensure the best results, use only fresh, blemish-free produce. You’ll also need to slice and dice your vegetables, and follow the specific preparation instructions found in your canning recipe of choice.
- Understand the Canning Process – Before canning can begin, you’ll need to thoroughly wash your jars, lids and rings in hot, soapy water. Then boil them for about 10 minutes to sterilize them. Fill your jars with produce, and cover them with the water or pickling solution. Produce expands during boiling, so be sure to leave a little room at the top. Seal the jars with the lid and sealing ring, and use your jar lifter to place the jars into the pot. The water level in the pot should reach an inch or two above the tops of the jars. Bring the water to a slow boil and maintain it for the length of time indicated in your recipe.
- Let Your Jars Cool – After boiling, use your jar lifter to remove the jars from the water and place them on a flat wood or cloth-covered surface. During cooling, you’ll hear a distinct popping sound, which indicates the creation of the vacuum seal. The entire cooling process takes about a day or so to complete. After cooling, press down on the tops of the jar lids to ensure they are properly sealed.
- Label and Store – Be sure to label each jar with the contents and the date. Place the jars in a cool, damp place until you’re ready to enjoy their contents!
Follow this guide to take advantage of your organic fruits and vegetables throughout every season!


