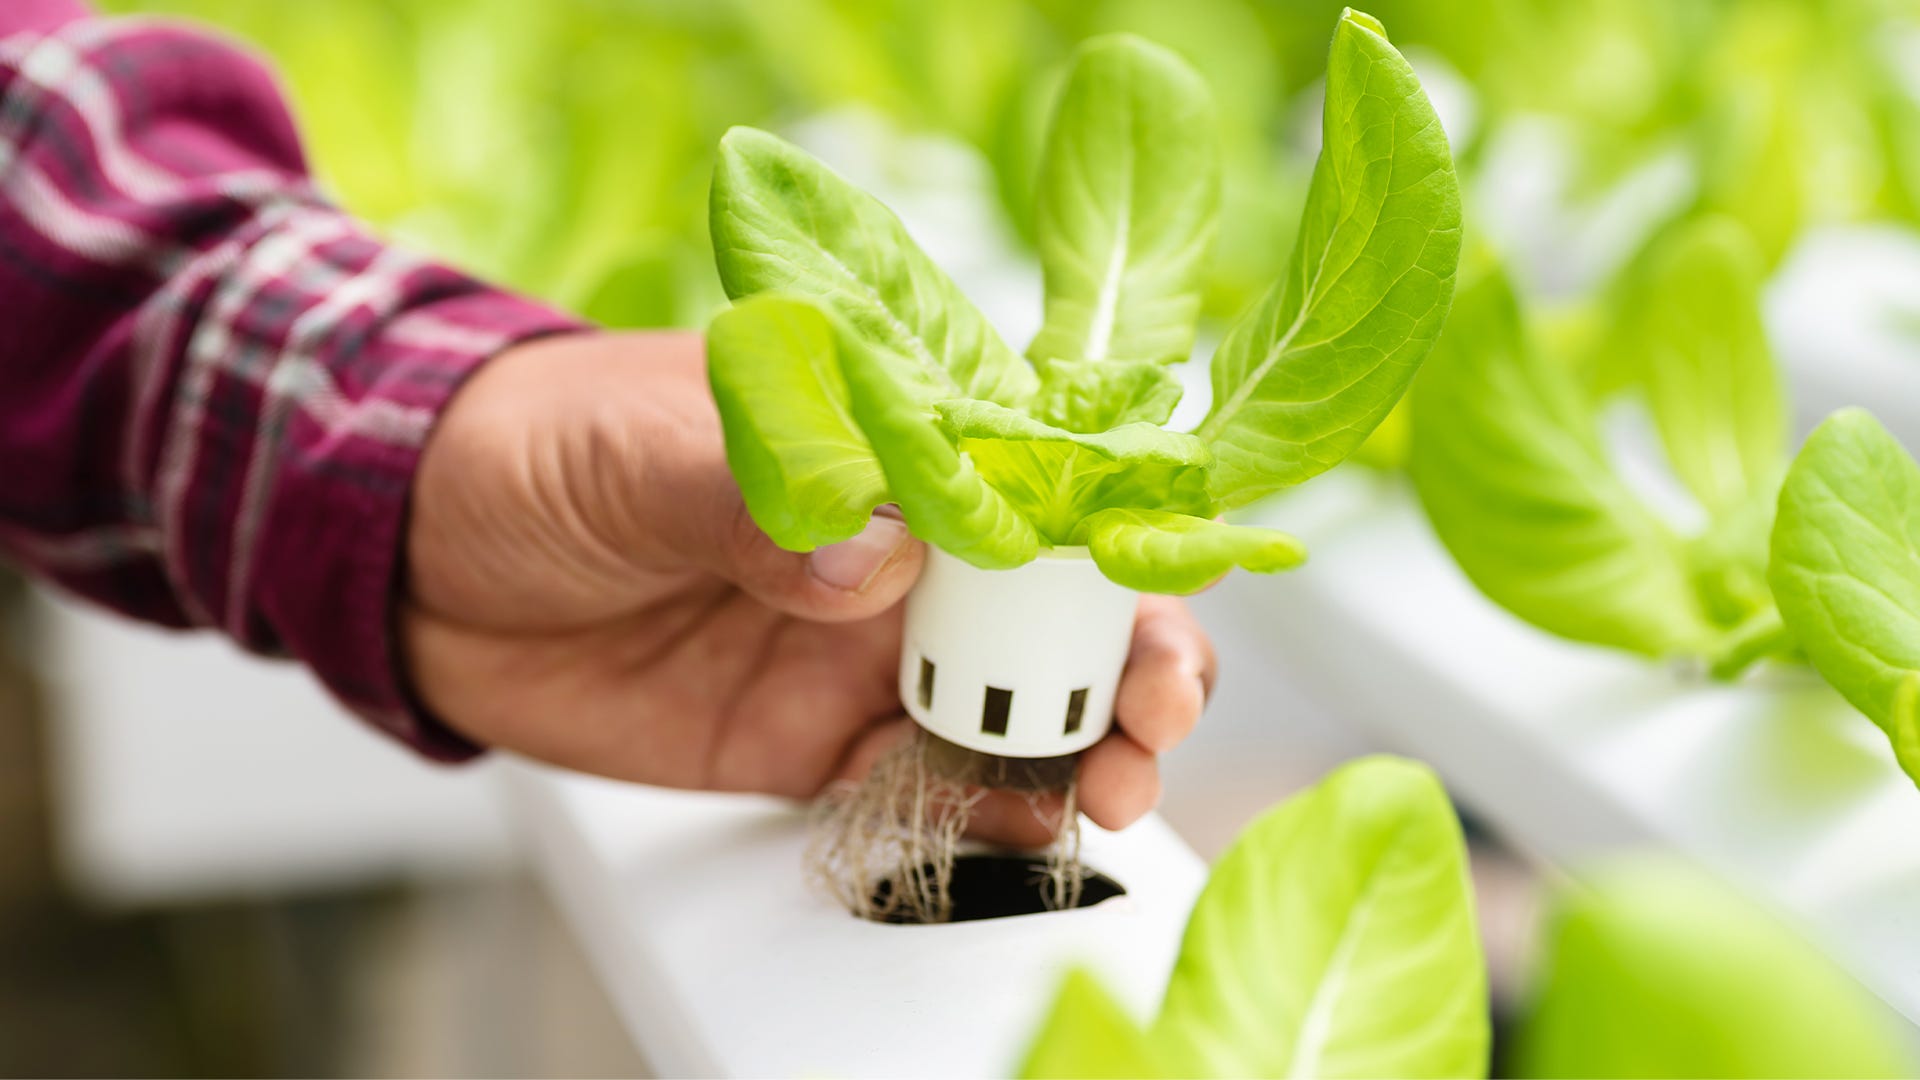
You don’t have to invest in a lot of expensive, high-tech equipment to start an indoor garden. For less than $75, you can build a basic hydroponic system and get a crop growing. The setup explained here is an adaptation of the design introduced by Bernard A. Kratky, Ph.D., an emeritus horticulturist at the University of Hawaii. He developed the system for urban food growers, though it works for anyone who wants to start a small indoor garden. It needs no pumps, tubing, or maintenance of any kind. With this setup, you can grow eight plants in a fairly small space. It’s the easiest way to begin your first indoor garden, and you can reuse it for years.
Supplies
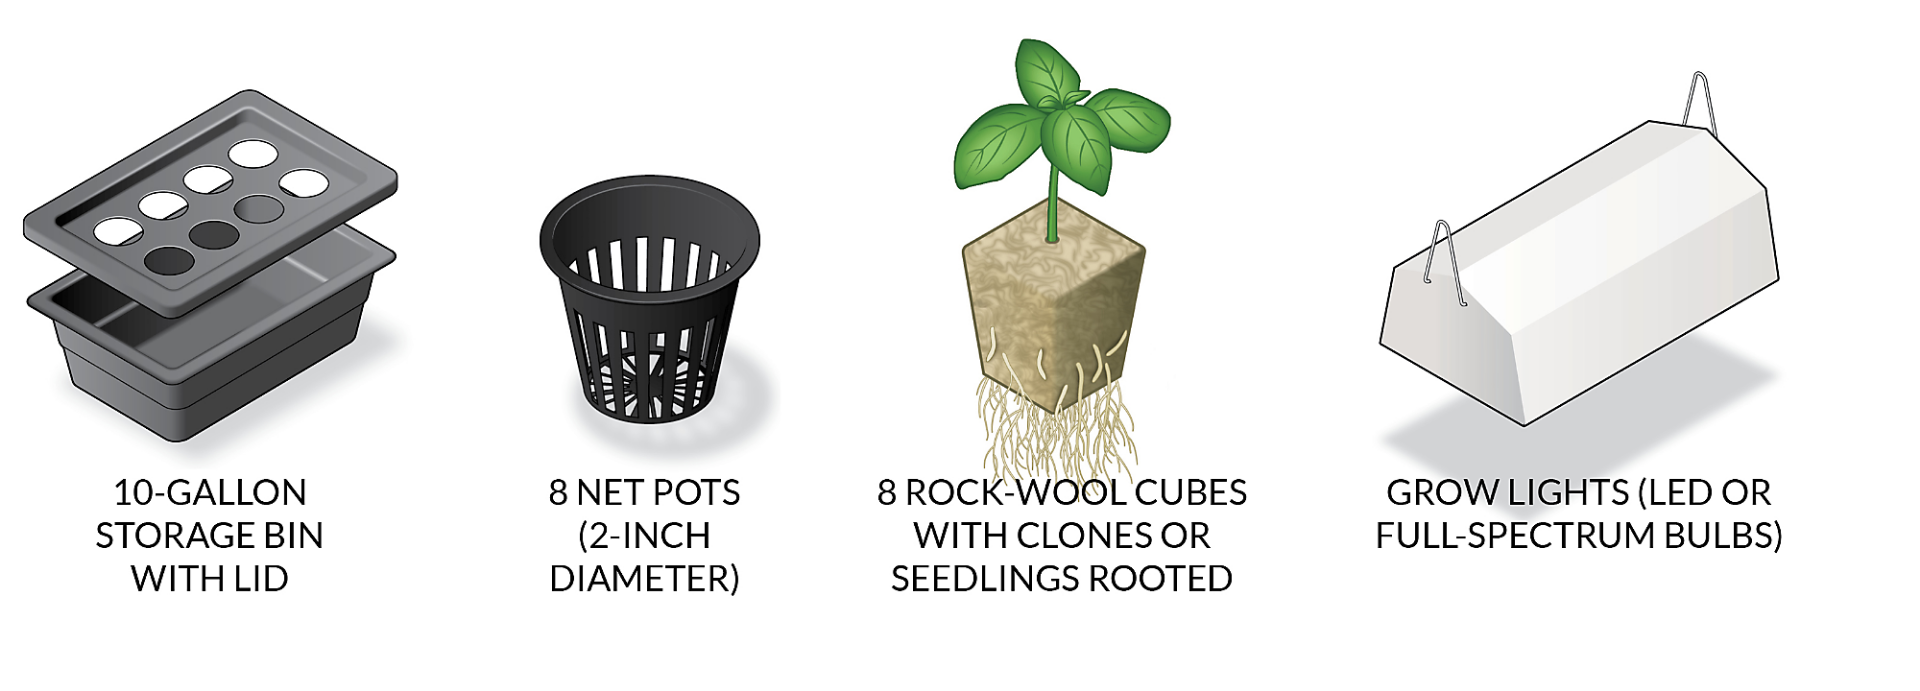
As with any undertaking, you need the right tools to get the job done well. Hydroponic gardening is no different! Along with a power drill, 2-inch hole saw attachment, and water-soluble organic hydroponic fertilizer for your plants you will need the following tools to help you get started

Directions
- Drill 8 evenly spaced holes into the lid of the plastic storage bin. Dump out the shavings and thoroughly rinse the storage bin.
- Replace the lid and place a net pot in each hole, making sure they fit securely.
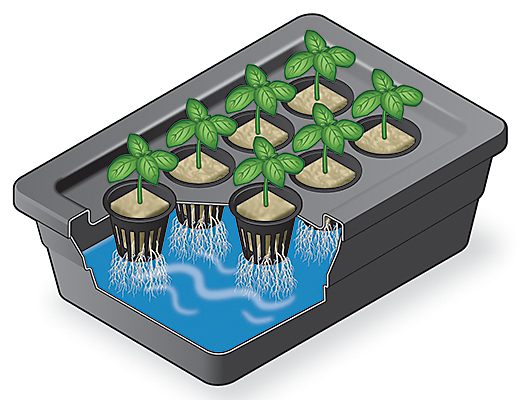
- With the lid on and all the net pots in place, fill the bin with water so that about 1/2 to 1 inch of the pots are immersed (about 9.5 gallons in a 10-gallon bin).
- Remove the lid. Following the package’s dilution instructions, add the vegetative stage fertilizer to the water in the bin and replace the lid.
- Set one rock-wool cube into each net cup.
- Place the bin so that the plants’ top leaves are 2 to 4 inches from the grow lights.

- In about a week, the leaves should start to grow. Even more importantly, the plants’ roots should extend down into the nutrient solution. The roots should be white, not brown. (Brown roots indicate root rot, commonly caused by lack of oxygen. You can’t cure rotted roots, but carefully stirring up your nutrient solution will introduce more oxygen and prevent further rotting.)
- The roots will grow longer as the fluid level drops, so they can continue taking in nutrients to grow. In about 30 days, you will have big leafy plants and only about 10 percent of the original fluid will remain.
- If you’re growing a crop for its leaves, they’re ready for harvest at this point. To produce a flowering crop, carefully remove the lid and set it where the roots can dangle without breaking off. Refill the bin to one-third of its capacity with water and add the recommended amount of flowering stage fertilizer. Replace the lid and set the bin so the plants are under the grow lights.
- When you are finished harvesting, thoroughly clean the bin. Rinse the bin well before reusing for a new crop.
How Did It Go?
Hopefully you are well on your way to growing plants in your brand new, DIY hydroponic system. It's always a good feeling to know you've built something that will last and provide for you with your own hands. Show off your hard work on our Facebook page for some serious bragging rights and see what other people have done too! If this article was a huge help, consider signing up for our e-newsletter so you can stay informed about new articles, tips, advice, and great offers on products that will help your gardening! For more in-depth information visit our learning center and see how our products can help your lawn and garden today.


